
We all have those little things that for whatever reason, we display proudly and love, even if no one else get it. I’m no exception.
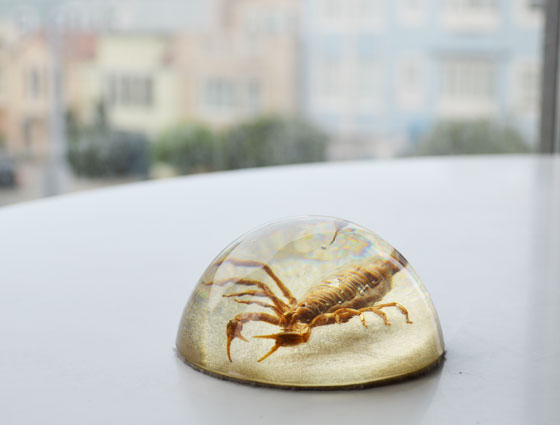
This scorpion encased in lucite with a gold glitter backing was found this at the flea market years ago and it has been one of my favorites since. The photo doesn’t show how sparkly it is.
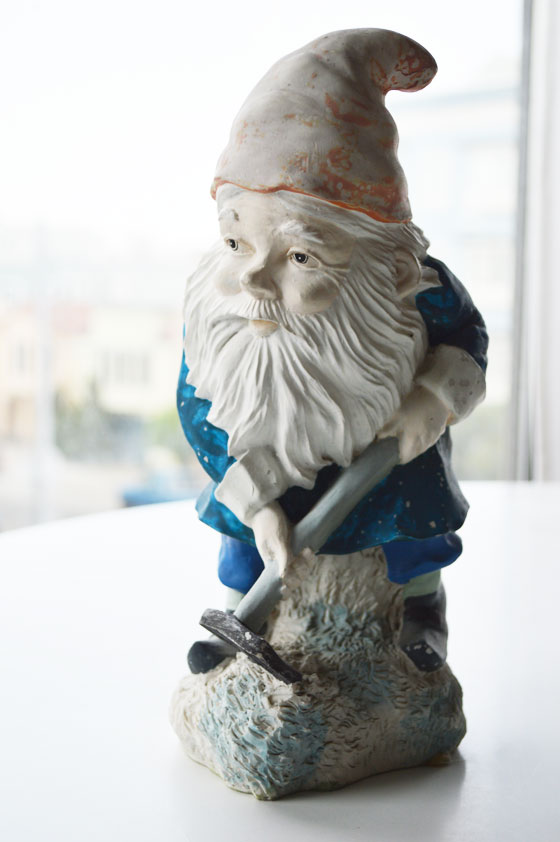 Garden Knome
This little guy has been with me since college. I’m pretty sure it came from someones lawn…but…can’t be certain…ahem. It has been my “where’s waldo” piece in every place I’ve lived in since, sometimes hiding in the window, sometimes in the kitchen, and now it’s next to my couch.
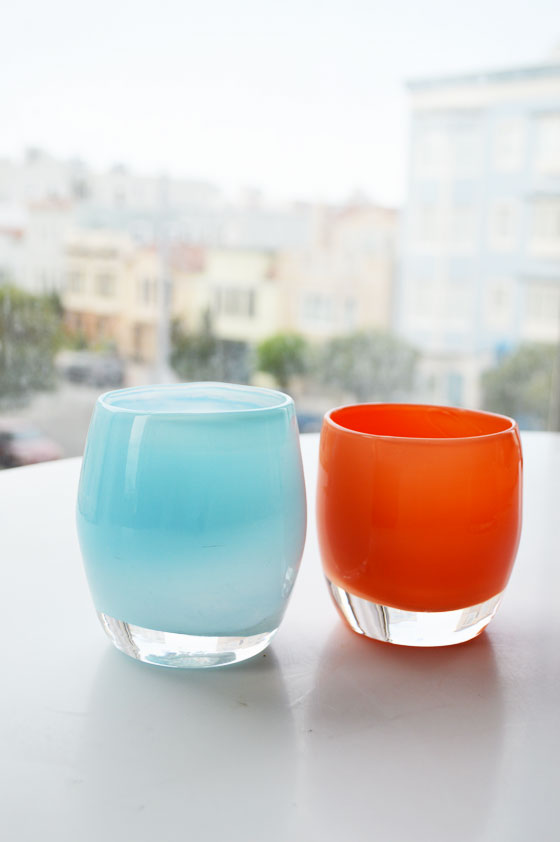
These two candle votives by Glassy Baby come from one of my dearest friends in Seattle. Aside from being in my favorite colors, I love how each has it’s own personality.
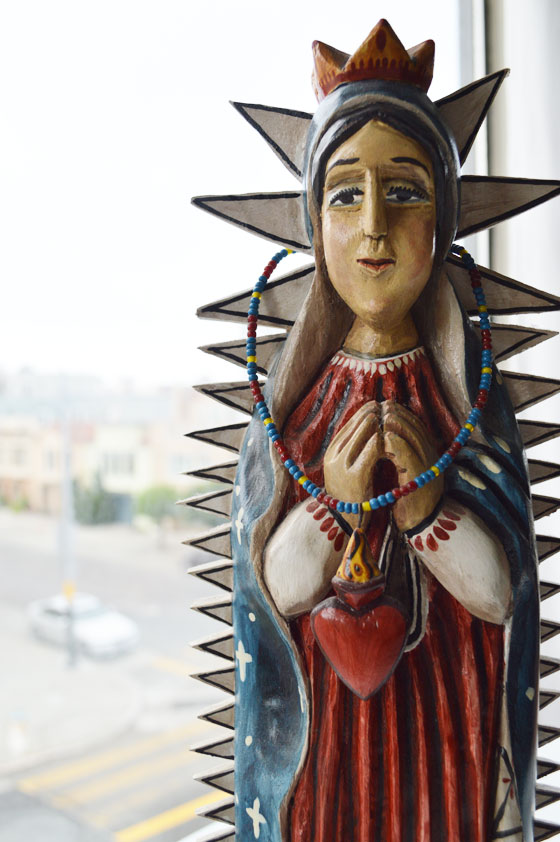
My grandmother had this statue of Our Lady of Guadalupe in her home in Santa Fe. It sat in an alcove that seem to fit it perfectly. She always would tell me when I’d wish for something, to go ask “the Lady”. 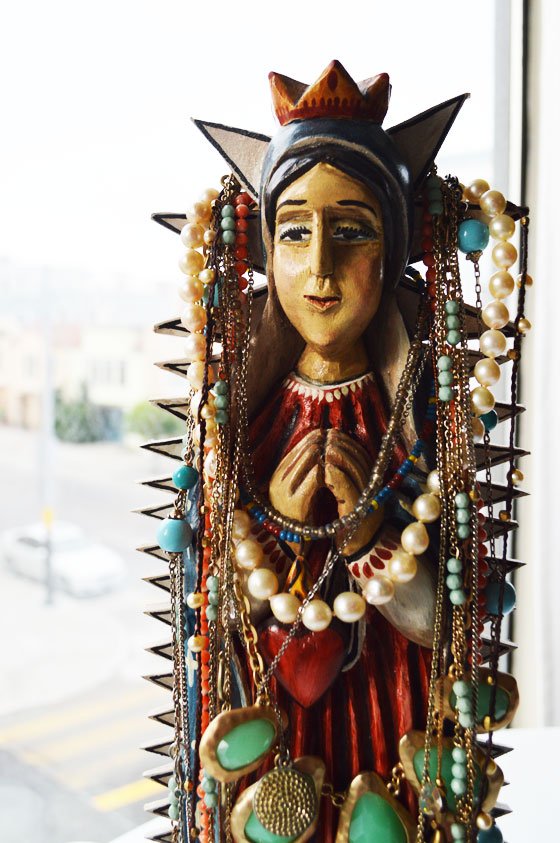 When she passed, I was given this statue and her pearls. I hung the pearls over the statue, and since now keep most of my necklaces there.
Photo Credit: Girl in the Fog
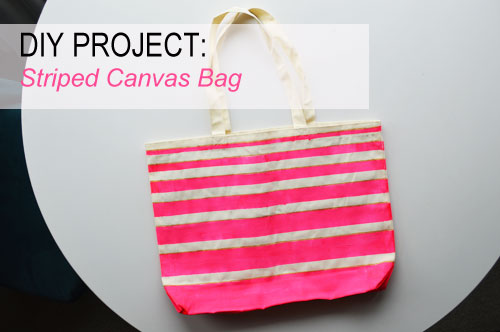
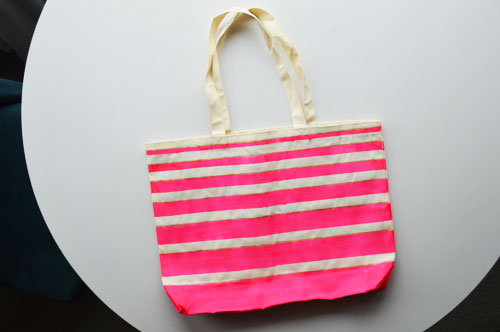
This weekend, I had a few of my girlfriends over for cocktails and a DIY craft afternoon. I thought it would be fun to turn plain canvas bags into something that we’d be proud to tote around the city.
We are all fairly artistic and have taken classes together before, but the great thing about this project is that it doesn’t take a lot of skill or thought, which allows you to be able to chat with your friends while you work.
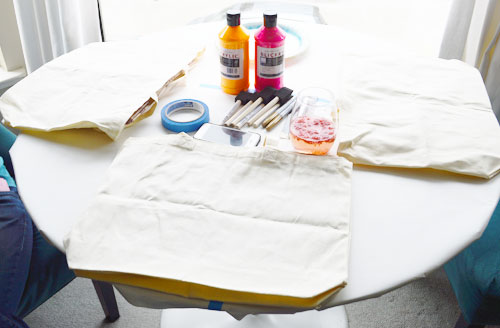
The materials I had on hand were:
- Canvas Bag
- Foam Paint Brushes
- Acrylic Paint
- Painters Tape (you can also use freezer paper that you iron on)
- Newspaper or butcher paper to protect your table
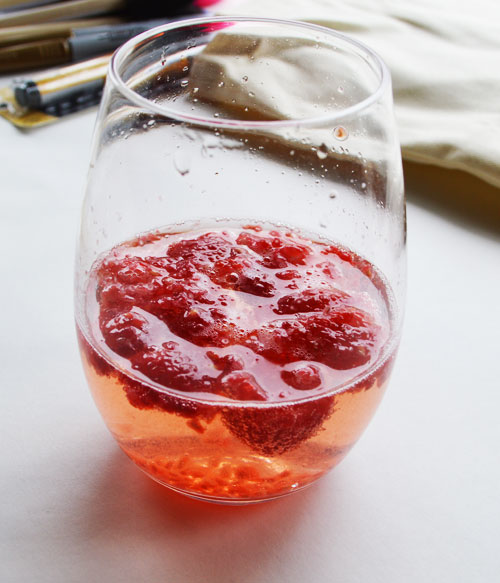
I served the ladies champange with muddled raspberries and we got to work.
I wrapped my table in paper to keep the paint off of it.
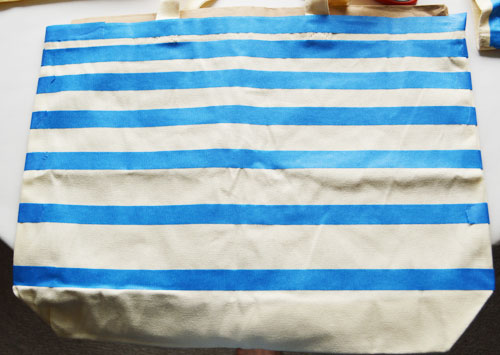
I used painters tape to create my pattern. I like simple patterns and just did stripes. I didn’t use a measuring tape but if you want to make sure your stripes are even you can measure out where you like to place the tape.
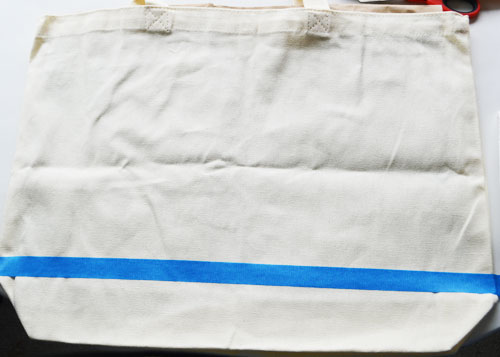
Once I was done I ran my hands over the tape once again to ensure the tape was firmly pressed to the canvas.
Then I started painting. I didn’t oversaturate the paint as I went along.
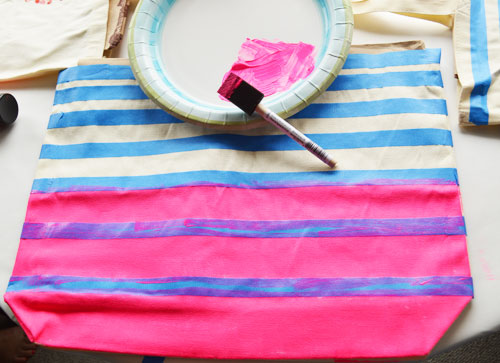
And I filled in all the places I wanted color.
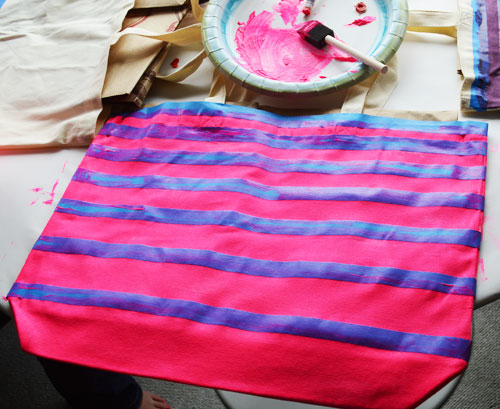
Once I was done painting, I finished my cocktail and let the paint dry. After about 15 minutes while it was still a little damp, I removed the tape. I hung it up overnight and it was ready to use the next day. I carried it to work Monday!
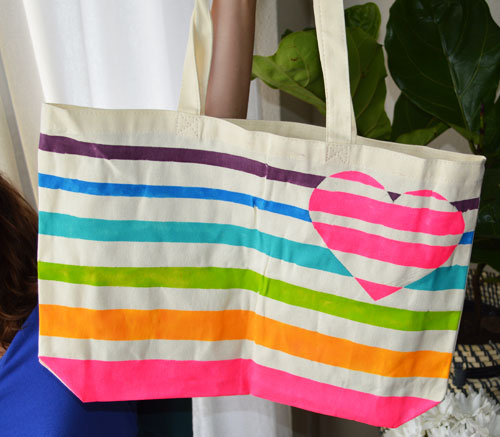
I also had to share my friend Haley’s bag. She did such a great job. I loved the heart!
To make mine a little more interesting I also lined my stripes on one side with a gold glitter pen. I felt it gave the stripes a little more depth.
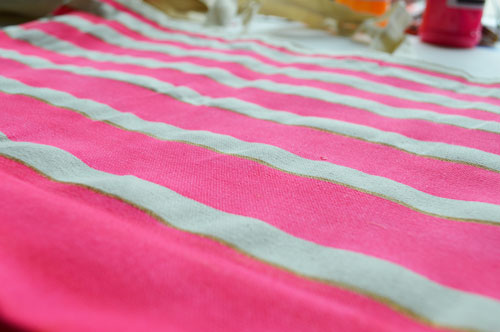
Photo Credit: girlinthefog
I’m really excited to have finally launched my new photo shop so I can share some of my favorite photos with you! 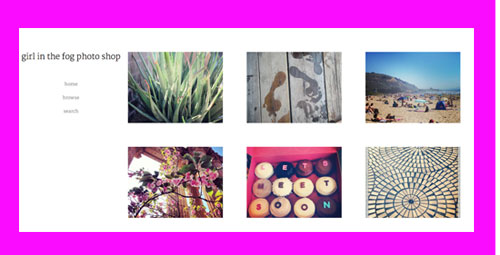
I’m always the one who is taking a million photos with her phone. Photos of her food, photos of the street, photos of everything really. Only lately I started to carry around my Nikon, and getting more serious and selective with my photos. What’s for sale is a mixture of photos from the last year.
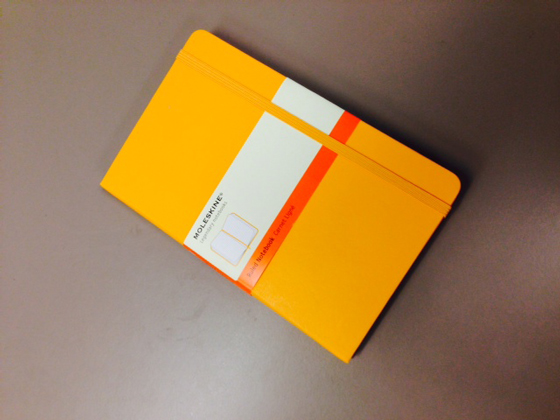
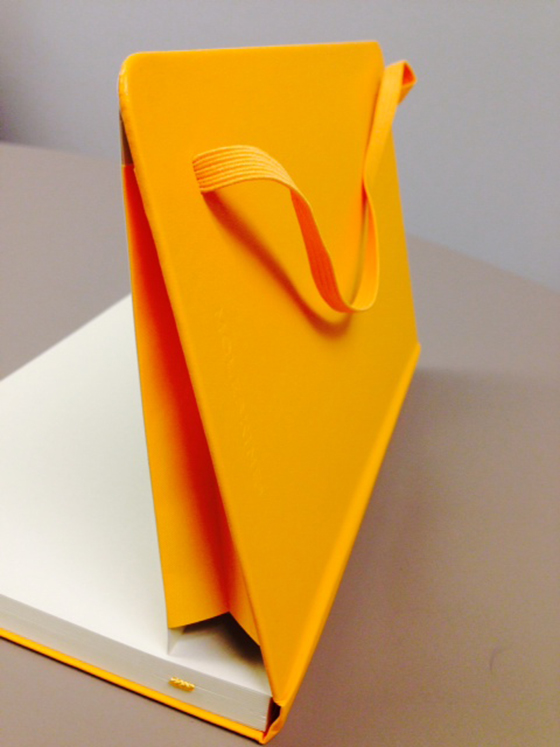
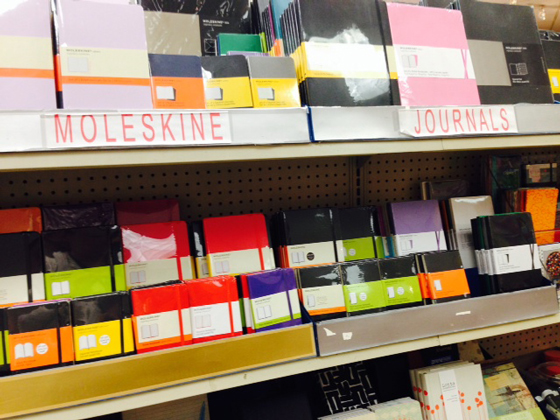 I am a total notebook junkie. Correction…I’m a Moleskine notebook junkie!
Even though I have three in my bag right now, I couldn’t help myself when I stopped by the stationary store today. While I usually stick with the classic black for work and grey for my personal work, I’m really excited about the colors they have right now.
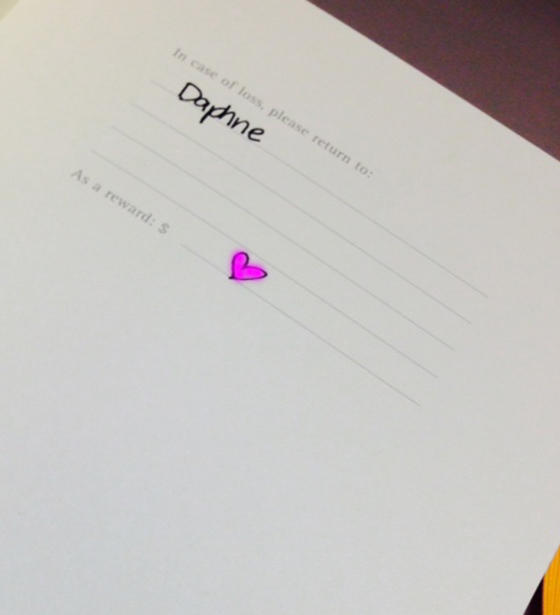
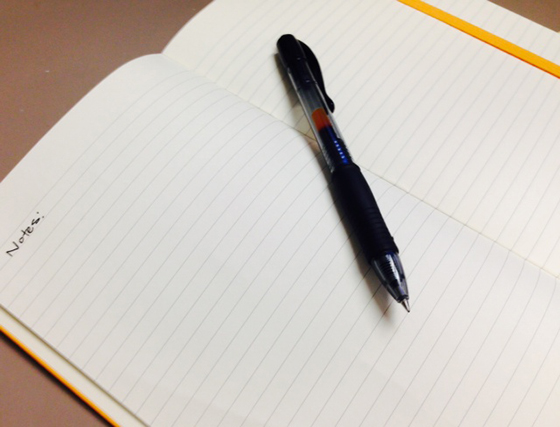
While I’m fairly boring with mine, I really like the “hacks” they have on the website and all of the examples of how others use theirs.
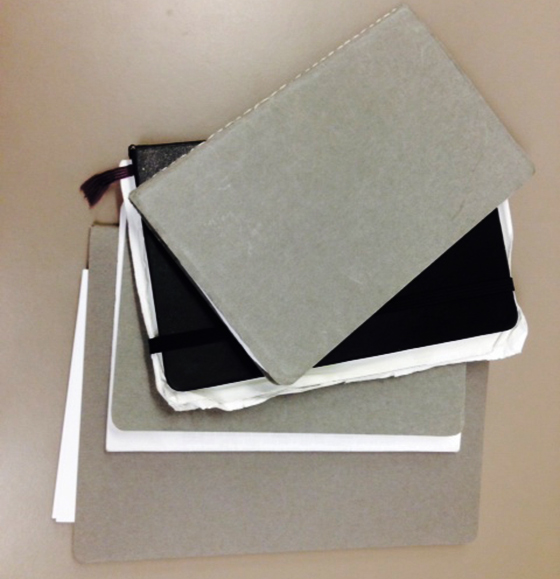
I’d like to welcome my newest ‘moley’ to the family.
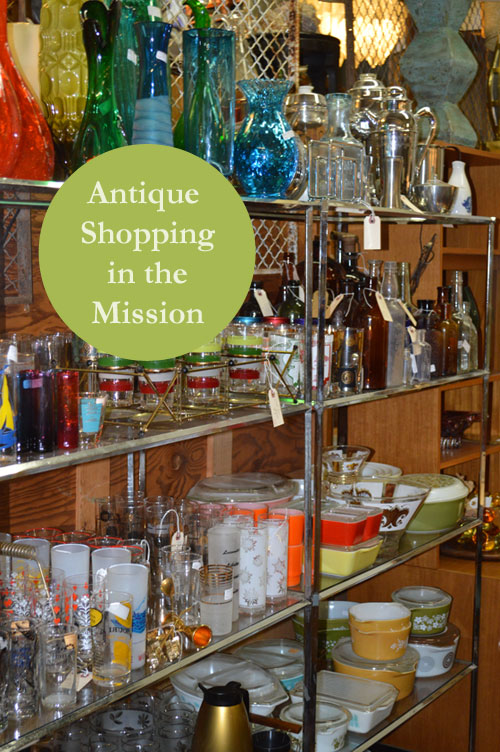
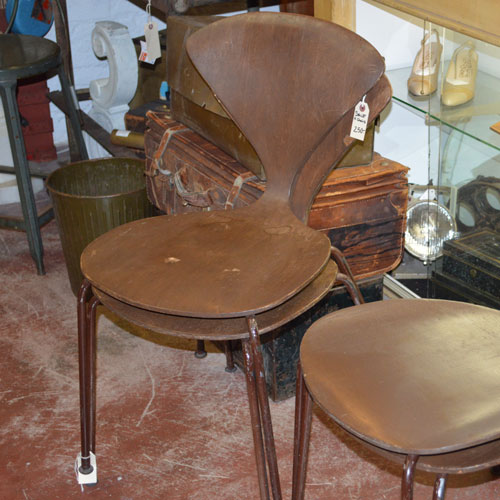
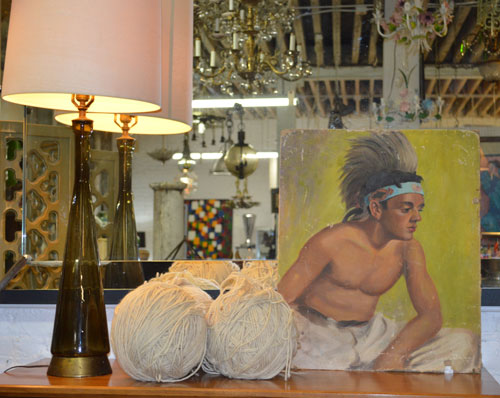
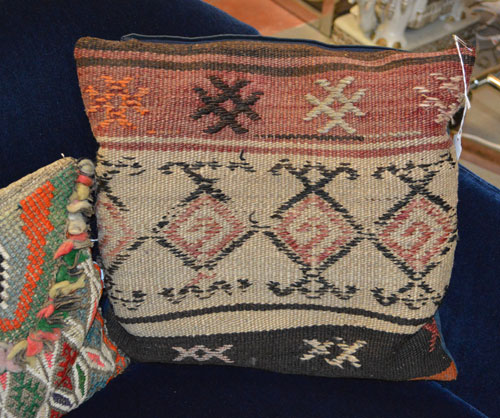
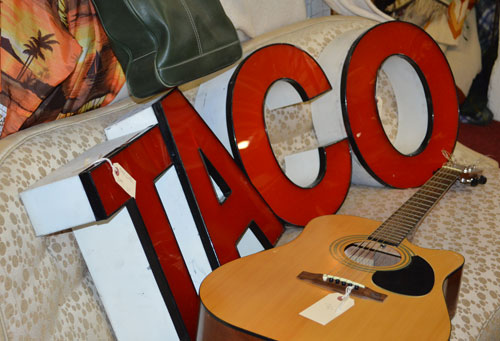
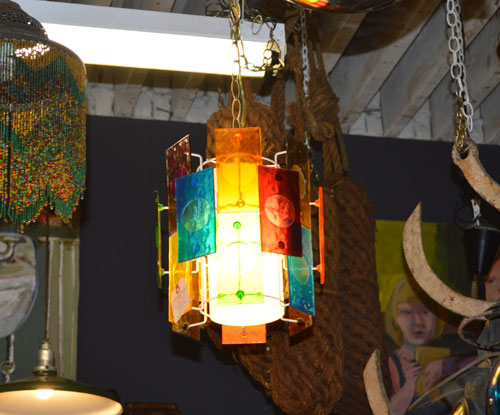
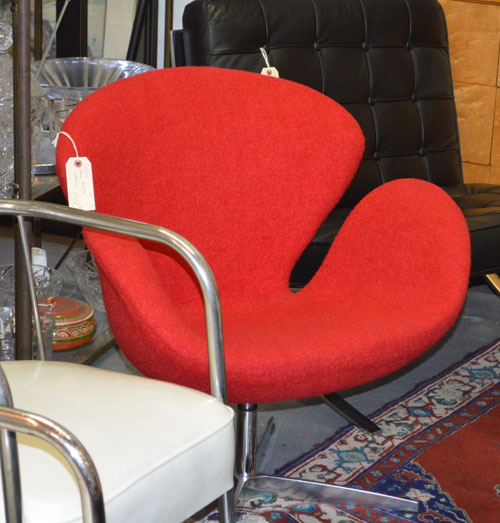
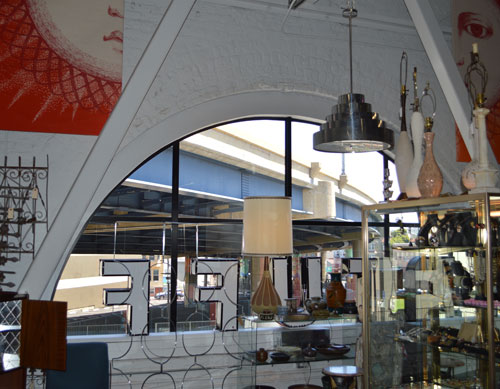
This weekend was a decorating whirlwind. My favorite part was checking out STUFF, an newer antique store in the Mission. My partner in crime (my Mom) and I spent around an hour walking around checking out everything. I love hearing her stories of things that have come back into style that she used to have in her house when I was young. I was mainly looking for pillows for my apartment re-decorating project which I’ll show you next week, but fell in love with a few other things. If ONLY I had a bigger place, it all would have come home with me.
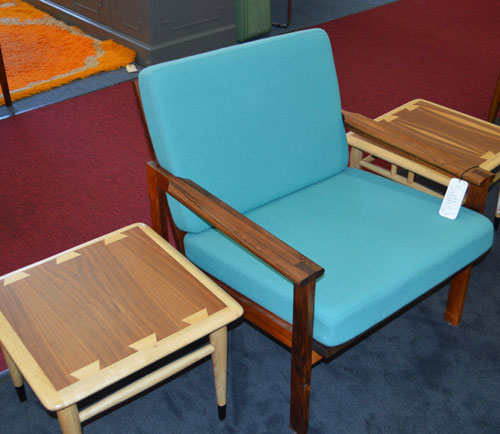
Photos: Girl in the Fog
Pinterest is my secret addiction. I have boards and boards of ideas for anything I might want to do in the future. Kitchen remodel, check! Summer wine country outfit, check! Places to travel, check, check!
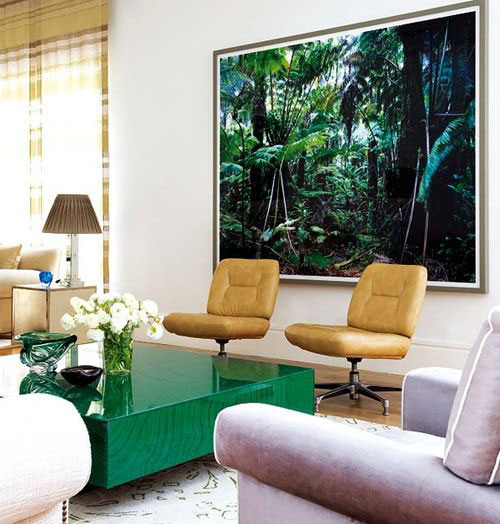
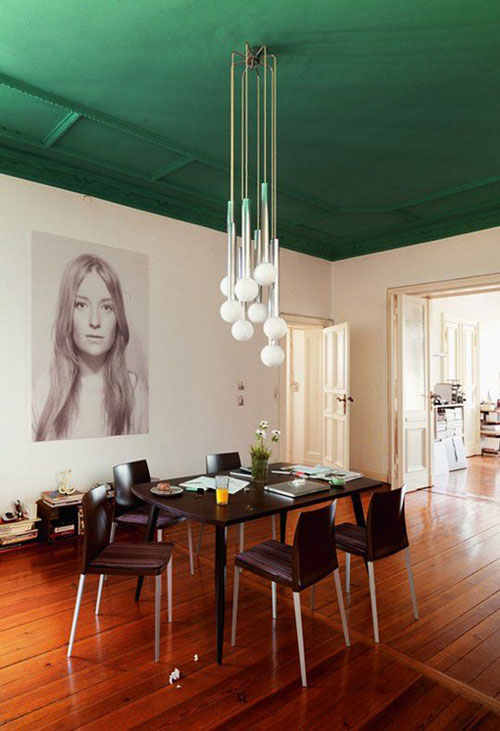
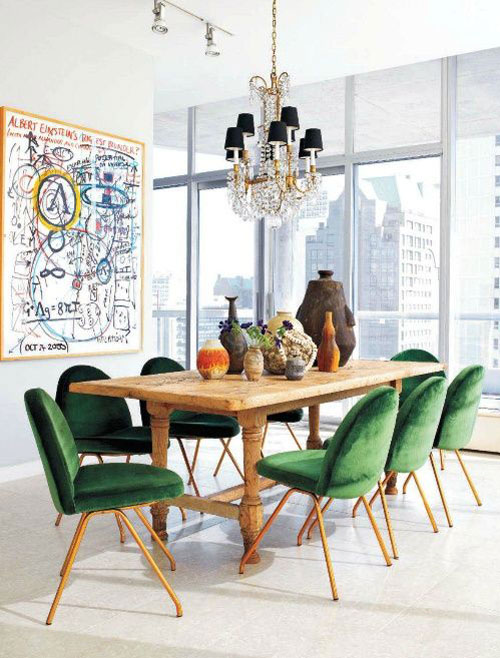
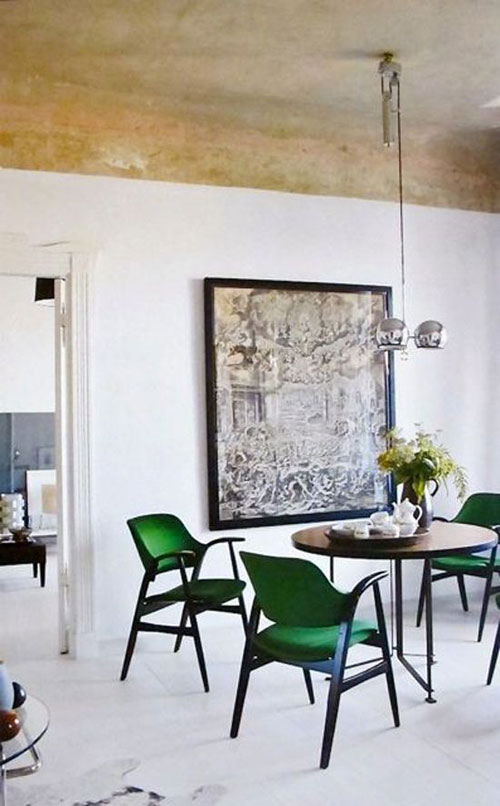
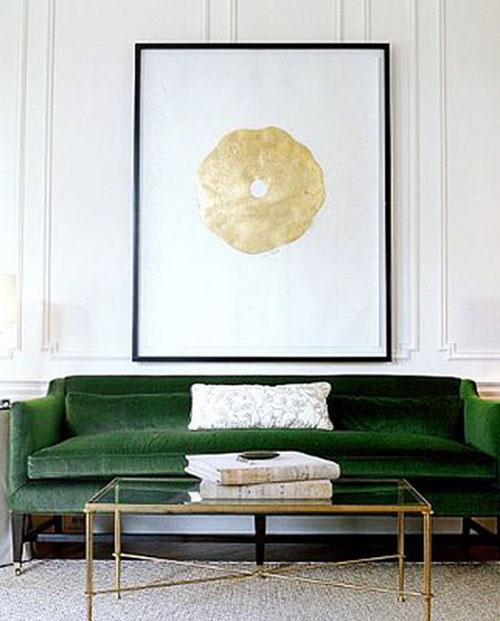
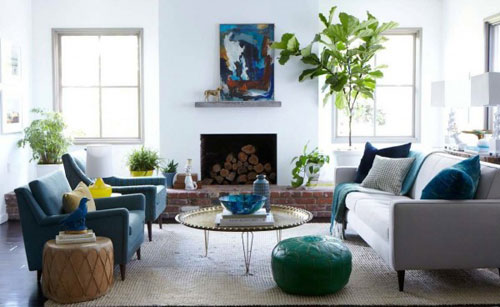
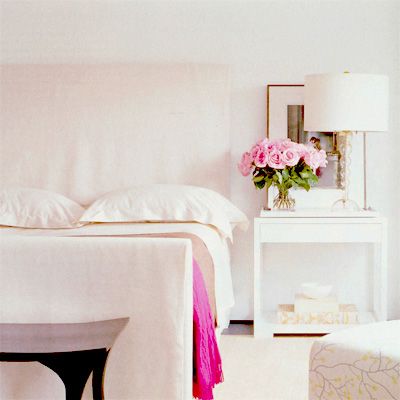
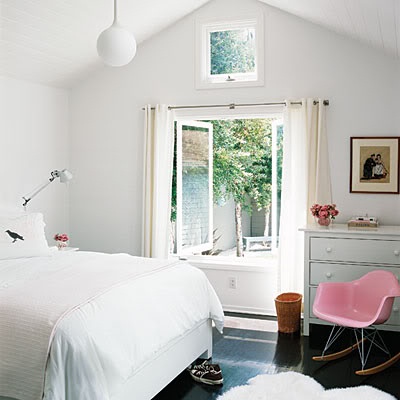
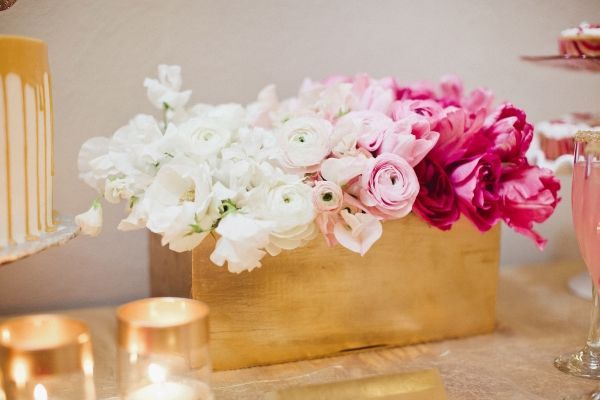
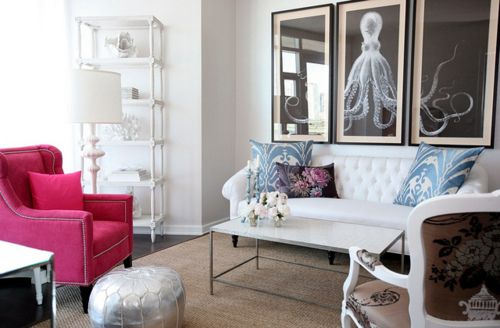
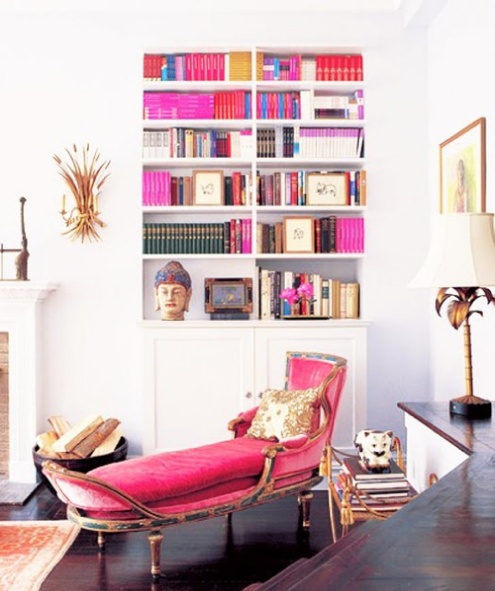
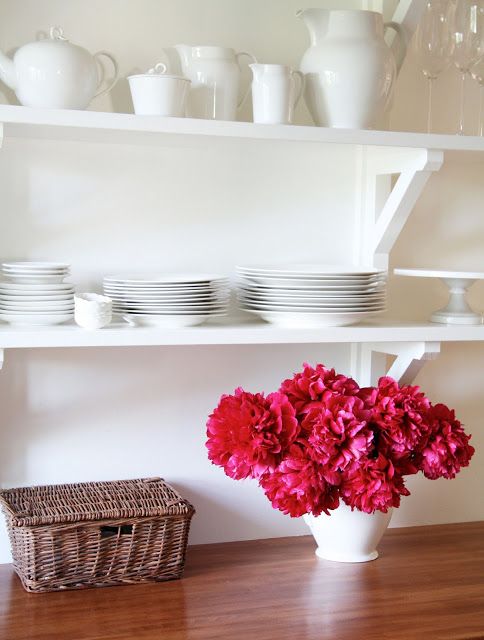
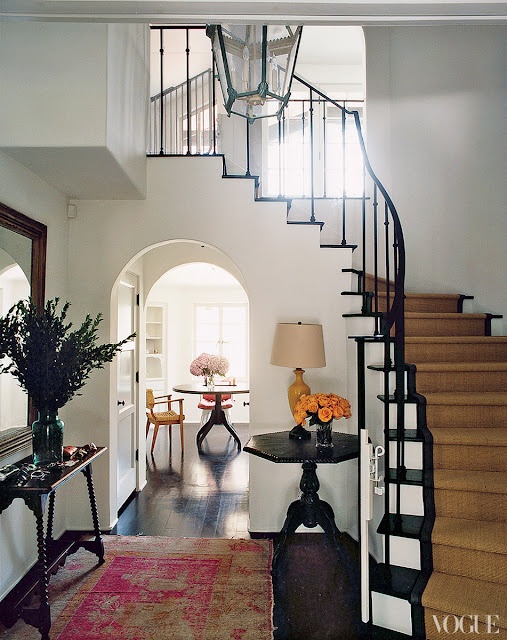
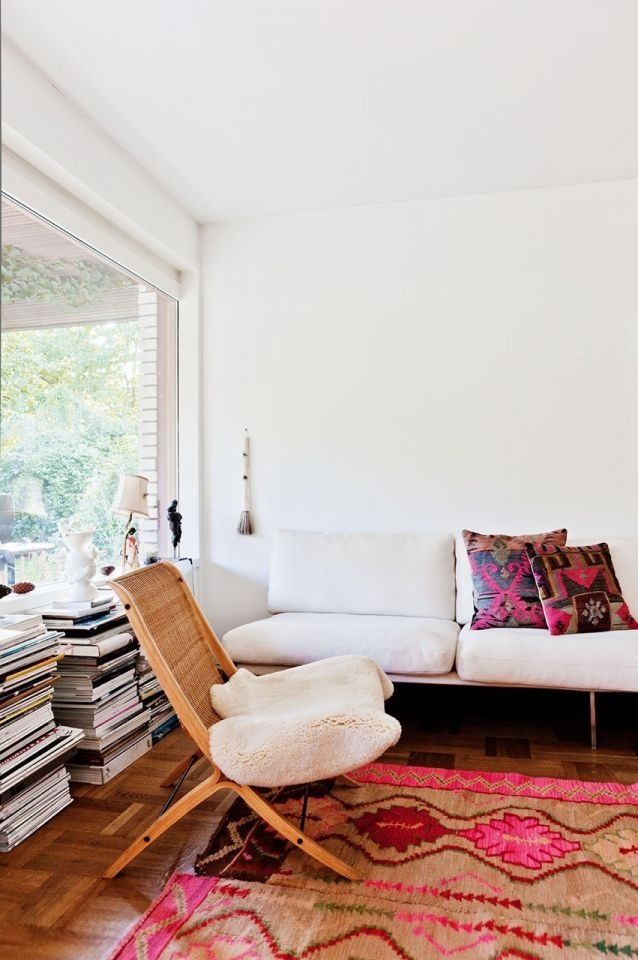
I thought I’d share one of my favorite Pinterest boards, Pink Accents. I never would have thought of having pink in my home decor. Not only would my boyfriend raise his eyebrows, but I would worry it would look childish. These examples proved me wrong. A pink accent or two can make a room look modern. Especially in a room of neutrals, a pop of pink makes the room so much warmer. It can also balance out a more masculine room. I’m especially loving the pink turkish rugs, WANT!

Follow Me!